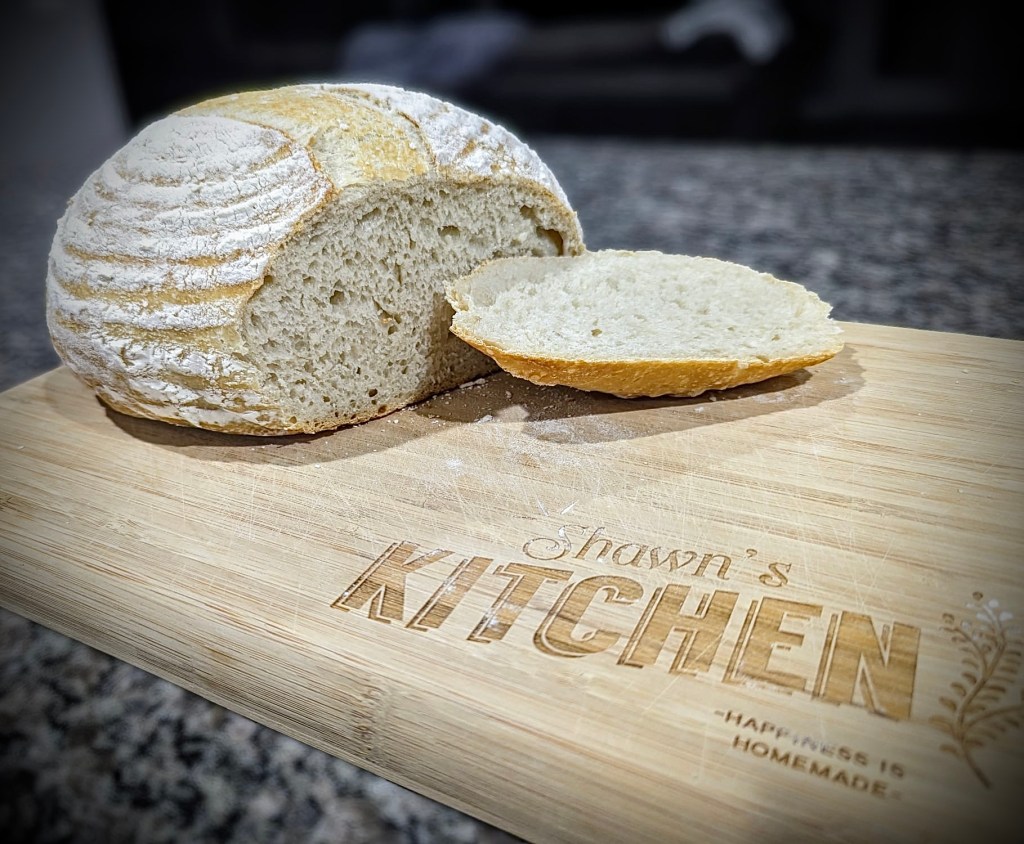
Sourdough bread and breadmaking became very popular during the pandemic when folks were stuck at home. Personally, I love sourdough bread as it has more health benefits than bread leavened with instant yeast.
Yeast is a fungus that feeds off of the sugars in the flour. If you add in a large quantity of instant yeast, it will produce a lot of carbon dioxide quickly. This causes the bread to rise at a rapid rate. The downside is there is still a lot of sugar in the bread, and you lose the benefits of a slower fermentation process, which introduced prebiotics, probiotics, and less sugar. You also get that great sourdough taste!
Here are two interesting studies you may examine on your own.
https://www.ncbi.nlm.nih.gov/pmc/articles/PMC10399781
https://www.ncbi.nlm.nih.gov/pmc/articles/PMC10103004
What I can tell you is that I’ve had the same sourdough starter for two years, and it’s going strong! It can be intimidating to think about making a sourdough starter, so it is often purchased from others. Please enjoy my video tutorial on how to make sourdough starter!
Once you get an established starter, you can keep it in the refrigerator. The cold air slows down the yeast, extending its shelf life. All you need to do is take it out every week or two, discard half of it, and feed it! I’ve even forgotten about it for over a month and brought it back to life. There is no right or wrong way to sourdough, so do what you feel is best.
I’ll also include my basic sourdough bread recipe for your convenience. I hope you enjoyed the video and have found it helpful! Please let me know what you think in the comments, and thanks for visiting The Professional Student!
Basic Sourdough Bread Recipe
Yield: 1 loaf
10 ounces Starter
8 ounces Water
14 ounces Bread Flour
15 grams Kosher Salt
1 Tablespoon Olive Oil (Optional)
- Feed the starter the day before baking to ensure it is active and bubbly.
- Combine all the ingredients in a stand mixer bowl. If softer bread is preferred, add the oil before mixing. Turn the mixer on low for 5 minutes using the dough hook attachment until the ingredients are combined, or knead the dough by hand.
- Turn the mixer speed on high for 10 to 15 minutes until the dough comes together in a smooth ball and lifts off the sides of the bowl.
- Transfer the dough to a lightly oiled bowl and allow it to rise until it doubles about 6 to 8 hours.
- Turn the dough out onto a lightly floured surface and knead into a smooth round ball. Place the ball into a well-floured bread-proofing basket and cover the top with a damp cloth or wrap it in plastic. An unused shower cap from a dollar store also works. Allow the dough to rise again for about 1.5 to 2 hours or almost double in size.
- When the bread is close to being ready to bake, preheat a Dutch oven with the lid in an oven to 400F for 30 to 45 minutes.
- Place a piece of parchment paper on the bottom of a sheet pan on top of the breadproofing basket. In one swift motion, flip the basket over and gently remove the basket by lifting it up. If the dough is sticking, give it a gentle shake or two. It can be frustrating, as sometimes the dough won’t come out, so make sure the bread basket is well-floured.
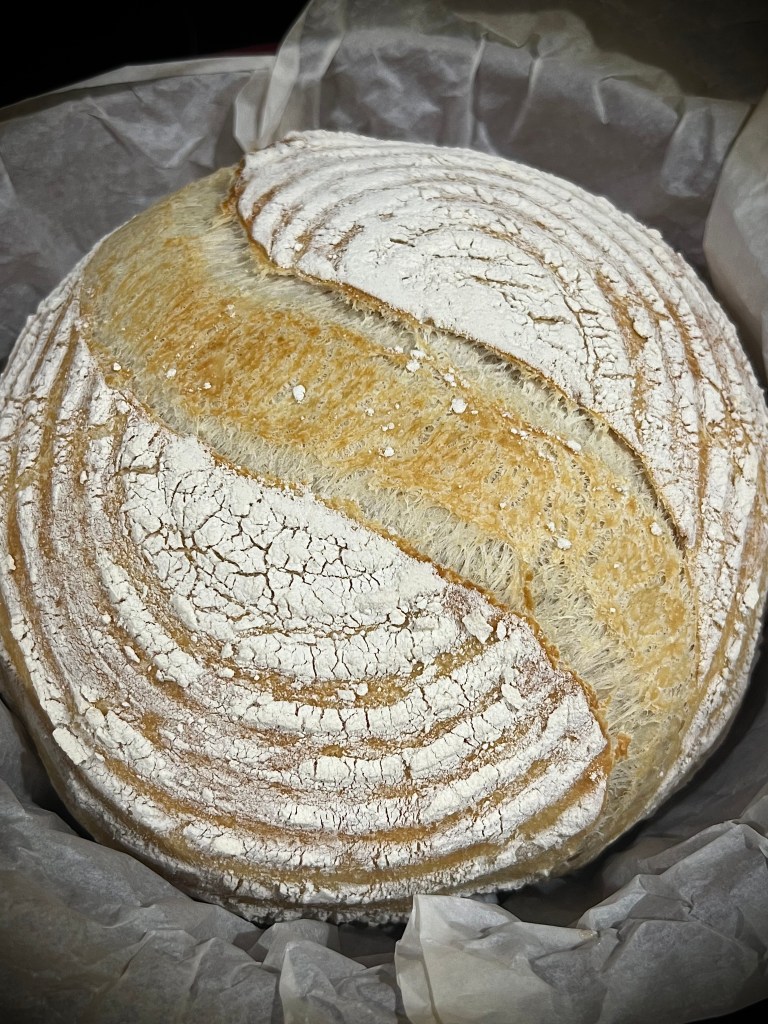
- Score the top of the bread. I like to do a deep “S” shape down the center. There are lots of ways to score and design bread. Have fun with it!
- Remove the preheated Dutch oven from the oven and pick up the dough by the corners of the parchment paper. Place the dough in the Dutch oven, cover, and bake for 45 minutes.
- Remove the lid and bake an additional 10 to 15 minutes until a beautiful golden brown color is achieved.
- Once baked, remove the bread from the Dutch oven and transfer it to a cooling rack. Allow the bread to cool before slicing it with a bread knife or storing it in an airtight bag or container. The bread may be cut before it’s completely cool, but you risk smushing the interior. If the bread is warm when storing it in a plastic bag or airtight container, condensation will build up from the steam.
The bread is best served slightly heated or toasted. Leftovers also make great croutons or breakfast casseroles!
Variations
Add in various fresh or dried herbs, spices, or cheeses, and most of all, have fun with it!

You must be logged in to post a comment.