Categories
Uncategorized

The Professional Student: French Macaron Edition, Method & Recipe

French macarons made by Pastry Chef Shawn Smallwood

French macarons frustrated me as a pastry student 10 years ago when I first began attending Le Cordon Bleu in Dallas, Texas. There is a reason why good French macarons are so expensive. If you’ve never had one, please try one. You won’t regret it!

A love-hate relationship was quickly established, as I loved to eat macarons but hated making them. I forgot about them until I was forced to master them. It was a lot of trial and error, but as an entrepreneur with an entrepreneurial mindset, I persisted nonetheless.

I wanted to share my technique and recipe, and I hope you find both useful, as I have spent a lot of time perfecting these little beauties. If you have ever made a meringue or a meringue-based dessert, you’ll understand just how finicky meringue anything can be.

Please watch my French Macaron tutorial before attempting to make macarons if you are inexperienced and new to baking them.

French Macaron Tutorial

Baking times might vary slightly on what is in the recipe that I typed up vs. what is in my video, as every oven is different. I’ve baked my macarons using how my oven bakes. You might need to increase or possibly decrease your oven baking time, so there might be a little trial and error until you have your macarons mastered.

French macarons baked by Pastry Chef Shawn Smallwood

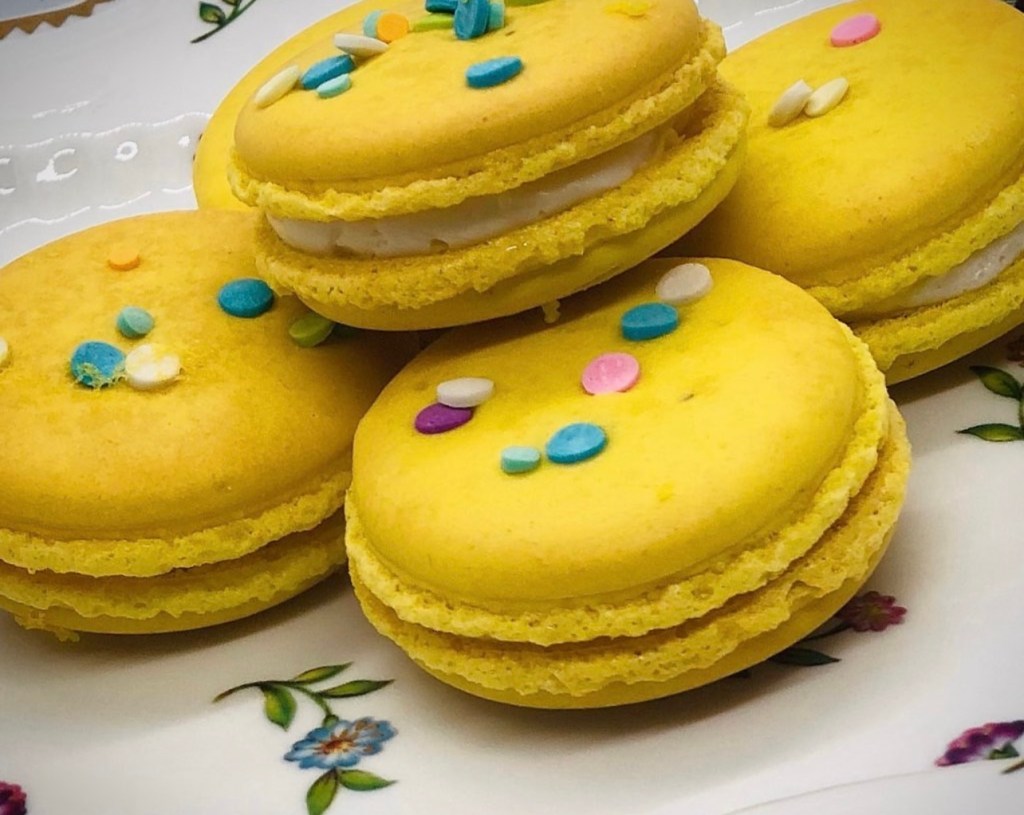
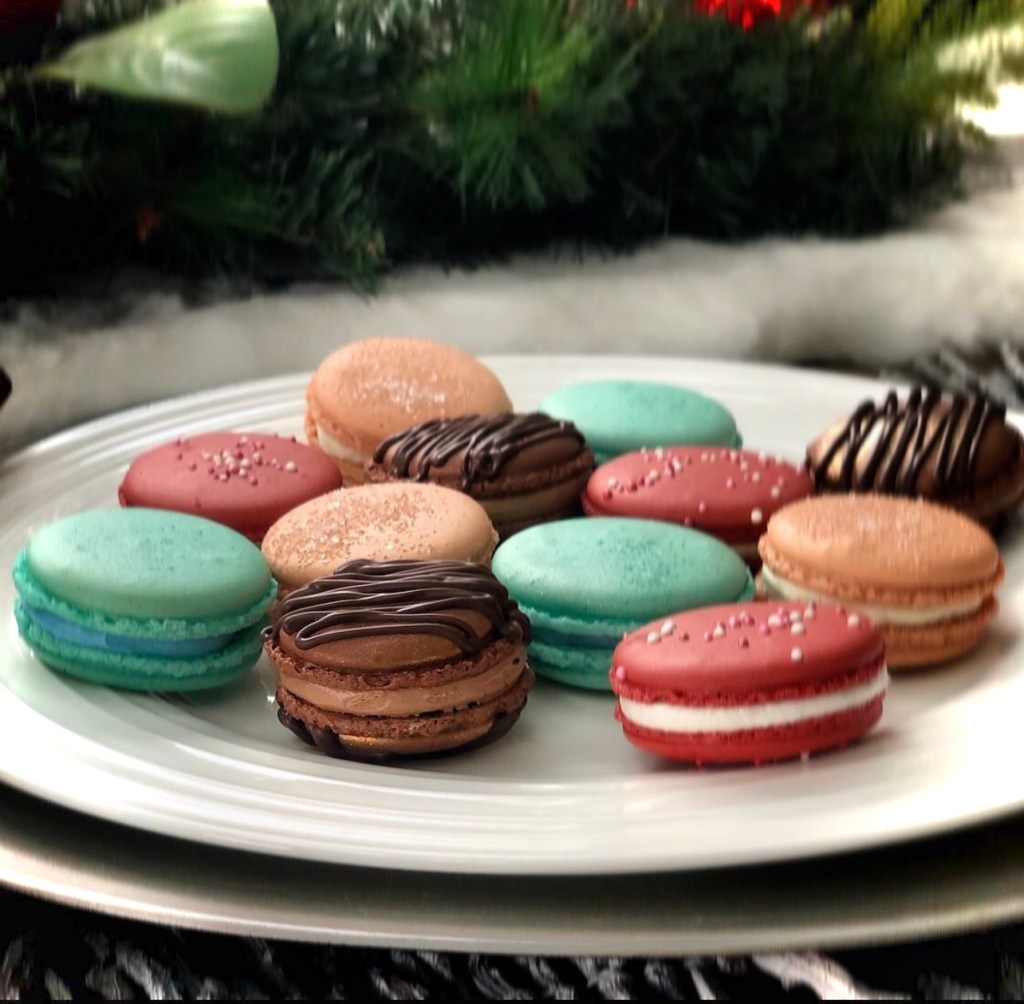
Most importantly, have fun! It’s okay to mess up batches. Trial and error is part of the process, but believe in yourself, and don’t give up. Get creative with the French Macarons, as decorating is limited to your imagination. Below are some of my favorite French macarons I’ve ever baked.

French macarons made by Pastry Chef Shawn Smallwood

Thanks for stopping by for another baking edition from The Professional Student. Please help support me and my blogging endeavors by subscribing, commenting, liking, sharing, or re-blogging. Thanks again, and have a great day!

Categories
Uncategorized

The Professional Student: Ricotta & Cannoli Cake Edition

Ricotta cheese is one of the rare items I purchase at the grocery store, but I do need it occasionally. Sometimes, for savory applications like ravioli or lasagna, other times for desserts!

I was asked to make an Italian-inspired dessert for a client on this particular day. We discussed various ideas and settled on a cannoli-inspired cake. Cannoli filling is made from ricotta, powdered sugar, vanilla, cinnamon, and chocolate chips. The cake would have four pistachio cake layers and three cannoli filling layers. The outside would be frosted with a buttercream comprised of half cream cheese and half Italian meringue, and finished off with a dark chocolate ganache top, marbled dark chocolate ganache sides, crushed pistachios on top, and a chocolate chip boarder around the bottom.

I noticed no ricotta at the grocery store but plenty of whole milk. I didn’t have time to look for one item, so I grabbed the milk and headed home to make it. The process is simple enough but a little time-consuming when it comes to removing the whey from the cheese. It is well worth it, as the texture and flavor are superior to any grocery store product.

Please enjoy learning to make ricotta cheese with me, as I demonstrate in the YouTube video below. You can also pick up a few gardening tips along the way!

Making Ricotta Cheese Demo

After making the cheese, I needed to bake off the pistachio cakes and turn the ricotta into cannoli filling. Please enjoy the YouTube video of that process. It also includes the recipe I used for the pistachio cake.

Pistachio Cake and Cannoli Filling Demo

Finally, my cake layers had cooled, and it was time to torte, fill, stack, and build the final cake. Depending on thickness, it always takes a few hours for cake layers to cool off, but I don’t mind. It gives me time to work on the homework side of my graduate program!

I’ve noticed some bakers prefer to bake their layers individually so they do not have to cut them. This is a big pet peeve of mine because I do not like thick cake layers. I’ve met people who do not like cake. I truly believe it is because they’ve never actually had a good one. Cake layers should be thin. If the layers are too big and the filling is too thin, the result can be a dry and unpleasant cake. One should not require a large glass of milk, even though it is good with dessert, to prevent a cake choking hazard.

Please enjoy the cannoli cake stacking, filling, and decorating process in the YouTube video below.

Filling and Staking Cake Demo

Thanks for stopping by The Professional Student, and don’t forget to like, re-blog, and comment!

Categories
Uncategorized

The Professional Student: Sourdough Bread Edition

Sourdough bread and breadmaking became very popular during the pandemic when folks were stuck at home. Personally, I love sourdough bread as it has more health benefits than bread leavened with instant yeast.

Yeast is a fungus that feeds off of the sugars in the flour. If you add in a large quantity of instant yeast, it will produce a lot of carbon dioxide quickly. This causes the bread to rise at a rapid rate. The downside is there is still a lot of sugar in the bread, and you lose the benefits of a slower fermentation process, which introduced prebiotics, probiotics, and less sugar. You also get that great sourdough taste!

Here are two interesting studies you may examine on your own.

https://www.ncbi.nlm.nih.gov/pmc/articles/PMC10399781

https://www.ncbi.nlm.nih.gov/pmc/articles/PMC10103004

What I can tell you is that I’ve had the same sourdough starter for two years, and it’s going strong! It can be intimidating to think about making a sourdough starter, so it is often purchased from others. Please enjoy my video tutorial on how to make sourdough starter!

Once you get an established starter, you can keep it in the refrigerator. The cold air slows down the yeast, extending its shelf life. All you need to do is take it out every week or two, discard half of it, and feed it! I’ve even forgotten about it for over a month and brought it back to life. There is no right or wrong way to sourdough, so do what you feel is best.

I’ll also include my basic sourdough bread recipe for your convenience. I hope you enjoyed the video and have found it helpful! Please let me know what you think in the comments, and thanks for visiting The Professional Student!

Basic Sourdough Bread Recipe

Yield: 1 loaf

10 ounces Starter

8 ounces Water

14 ounces Bread Flour

15 grams Kosher Salt

1 Tablespoon Olive Oil (Optional)

  1. Feed the starter the day before baking to ensure it is active and bubbly.
  2. Combine all the ingredients in a stand mixer bowl. If softer bread is preferred, add the oil before mixing. Turn the mixer on low for 5 minutes using the dough hook attachment until the ingredients are combined, or knead the dough by hand.
  3. Turn the mixer speed on high for 10 to 15 minutes until the dough comes together in a smooth ball and lifts off the sides of the bowl.
  4. Transfer the dough to a lightly oiled bowl and allow it to rise until it doubles about 6 to 8 hours.
  5. Turn the dough out onto a lightly floured surface and knead into a smooth round ball. Place the ball into a well-floured bread-proofing basket and cover the top with a damp cloth or wrap it in plastic. An unused shower cap from a dollar store also works. Allow the dough to rise again for about 1.5 to 2 hours or almost double in size.
  6. When the bread is close to being ready to bake, preheat a Dutch oven with the lid in an oven to 400F for 30 to 45 minutes.
  7. Place a piece of parchment paper on the bottom of a sheet pan on top of the breadproofing basket. In one swift motion, flip the basket over and gently remove the basket by lifting it up. If the dough is sticking, give it a gentle shake or two. It can be frustrating, as sometimes the dough won’t come out, so make sure the bread basket is well-floured.
  8. Score the top of the bread. I like to do a deep “S” shape down the center. There are lots of ways to score and design bread. Have fun with it!
  9. Remove the preheated Dutch oven from the oven and pick up the dough by the corners of the parchment paper. Place the dough in the Dutch oven, cover, and bake for 45 minutes.
  10. Remove the lid and bake an additional 10 to 15 minutes until a beautiful golden brown color is achieved.
  11. Once baked, remove the bread from the Dutch oven and transfer it to a cooling rack. Allow the bread to cool before slicing it with a bread knife or storing it in an airtight bag or container. The bread may be cut before it’s completely cool, but you risk smushing the interior. If the bread is warm when storing it in a plastic bag or airtight container, condensation will build up from the steam.

The bread is best served slightly heated or toasted. Leftovers also make great croutons or breakfast casseroles!

Variations

Add in various fresh or dried herbs, spices, or cheeses, and most of all, have fun with it!

Categories
Uncategorized

The Professional Student: Pastry Chef Editon

Welcome back, everyone! I’ve been playing with the layout of my blog, and I’ve added a menu bar on the side of my homepage with a “baking” section. I figured it might be helpful to start posting some of my work there, as I would like to showcase and feature some of my other talents outside of graduate school coursework.

At 18 years old, I began my professional cooking career in the Army. Army cooking taught me fantastic time management skills and how to cook large quantities in a short amount of time. I held various positions in the kitchen, including head baker. After being honorably discharged, I attended Le Cordon Bleu in Dallas, Texas, and graduated with a 4.0 GPA, earning an AAS in patisserie and baking. After graduation, I left Dallas and moved to Asheville, North Carolina, to work as a lead pastry cook at The Biltmore Estate for almost five years. Like many service industry workers, I found myself suddenly unemployed due to the pandemic and ventured out alone. 

I started the company during the COVID-19 pandemic, and it was a great way to work from home while going to school at the same time. I had not transferred to Western Carolina University yet and had more free time to spend on baking. I operated the company for two years. When I began my studies at Western, I needed more time. I decided to shut down operations and move forward with education as my main priority. I still bake on the side for customers, but now, it’s a fun hobby I enjoy as a creative outlet!

I think the best way to showcase some of my work is by sharing a link to the Instagram account I used for my custom-made dessert company, Custom Goods LLC. The business is no longer active, and I’ve since closed it down, but I keep the Instagram page up to share my work with others. Here is the link to the Instagram page. Please enjoy my work and feel free to comment or ask questions. Thank you!