Made by Pastry Chef Shawn Smallwood
Cheesecake is one of my all-time favorite desserts to make! I have a tried and true cheesecake base recipe that can be flavored any way you like to create unique, one-of-a-kind desserts.
I don’t take the traditional route of baking cheesecake in a springform pan and a water bath. Instead, I prefer using regular cake pans to bake cheesecake at a lower temperature. Baking at a lower temperature eliminates the need for a water bath. After the cheesecake cools down, I flip it out to decorate.
If flipping a cheesecake out of a cake pan feels too overwhelming, please use a springform pan if that is what you are comfortable with. Both types of pan work fine for the method described below.
For this recipe, I prefer an 8-inch cake pan that is 4 inches tall or a 10-inch cake pan that is 4 inches tall.
Cake Pan Preparation
- Place the cake pan on parchment paper and trace around the bottom. Cut out the outline to make a parchment paper circle that fits perfectly into the bottom of the pan. Be sure to cut off any marker, pencil, or pen marks, as you don’t want that going into the cheesecake.
- Spray a small amount of pan spray into the bottom of the cake pan, and place the parchment paper circle into it. A small spray of pan spray will prevent your parchment paper from shifting around.
- Liberally spray the entire inside of the cake pan with pan spray.
Crust Preparation
Ingredients
1 cup graham cracker crumbs
1/4 cup AP flour
1/4 cup brown sugar
1 or 2 TSP ground cinnamon
A dash of salt
1/2 a stick of melted butter
- Preheat an oven to 325F.
- In a mixing bowl, place 1 cup of graham cracker crumbs. (You may use whatever you like, such as Oreos, shortbread cookies, etc.)
- Add in 1/4 cup of AP flour and brown sugar.
- Add a dash of salt and 1 or 2 teaspoons of cinnamon, depending on preference.
- Pour in 1/2 a stick of melted butter (2 oz).
- Whisk the ingredients together until they are sandy in texture, and pour them into the prepared cake pan.
- Evenly distribute the crumbs across the bottom of the pan and press them down into a flat and even crust. If there is excess on the edge, press it into the side of the pan to make a lip around the edge.
- Bake for 10-12 minutes until golden
- Remove from the oven, and leave the oven door open to cool it down.
Basic Cheesecake Recipe
Ingredients
2 1/2 pounds (five 8 ounce packages) of room temp cream cheese
12 ounces granulated sugar
6 whole eggs + 2 yolks at room temp
1/4 cup sour cream
The zest & juice of 1 lemon (optional)
1 TSP salt
1 TBSP vanilla extract or paste (or however much you feel like)
- Preheat an oven to 200F.
- Combine room-temperature cream cheese, sugar, salt, lemon juice & zest, and vanilla in a stand mixing bowl (or large mixing bowl using a handheld mixer).
- Using a paddle attachment, beat the cream cheese and sugar together on medium speed until the cream cheese is completely smooth. Scrape down the sides, paddle attachment, and bottom of the bowl repeatedly to ensure the mixture is smooth.
- Add 1 or 2 eggs at a time to the cream cheese mixture and mix on low speed until they’re incorporated. Scrape down the sides and bottom of the bowl, including the paddle attachment, between every addition of eggs to ensure the mixture stays smooth.
- Add in the sour cream and mix on low until it is fully incorporated.
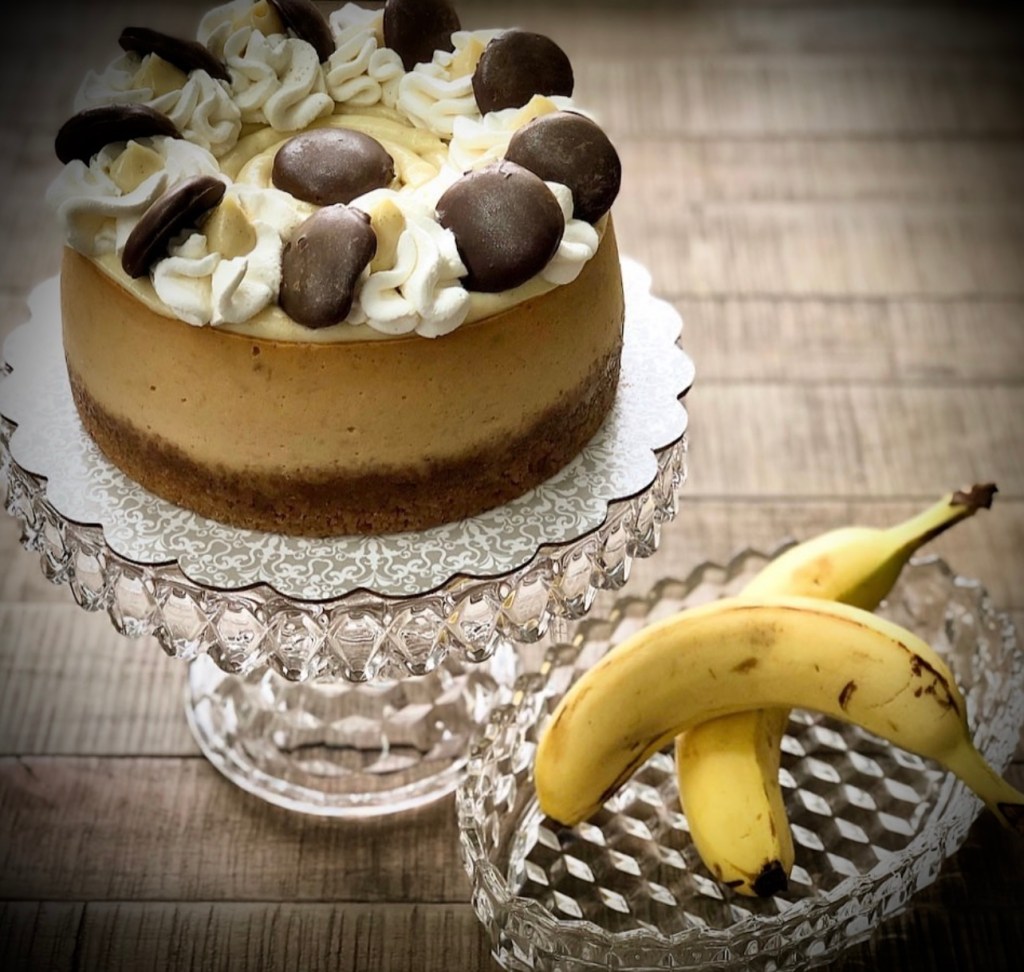
Now we have a vanilla cheesecake batter and can proceed to bake or add additional ingredients to flavor the batter. A few ideas could be frozen blueberries, chocolate chips, melted chocolate (for chocolate cheesecake), mashed bananas, swirls of your favorite jam or preserves, raspberries, etc. Get creative, and use your imagination.
Baking
- Place the cheesecake in the oven and bake for 4 hours
- At hour 4, remove the cheesecake from the oven, and using a food thermometer, insert it into the center of the cheesecake. If the thermometer reads 165-175F, it is done baking. If not, continue to bake until at least 165F is reached.
- Allow the cheesecake to fully cool (2-3 hours) and refrigerate overnight, unwraped, in the pan.
- Run a knife around the edge of the cheesecake and flip it out onto a cake board that has parchment paper on top. After the cheesecake is out of the pan, you can flip it back over onto a fresh cake board and gently remove the parchment paper to keep the top in tact.
- Decorate how you see fit with fresh fruit, sauces, ganache, whipped cream, meringue, etc.
I prefer warming up the cake pan before I flip out the cheesecake. Warming up the pan on the outside helps the cheesecake slide out. You can use a blow torch (easily found at Home Depot for around $20), or you can set the cake pan in a sink full of boiling hot water for a few minutes.
I hope you’ve all enjoyed my basic cheesecake recipe! Thanks for stopping by The Professional Student and don’t forget to leave me a comment.


You must be logged in to post a comment.